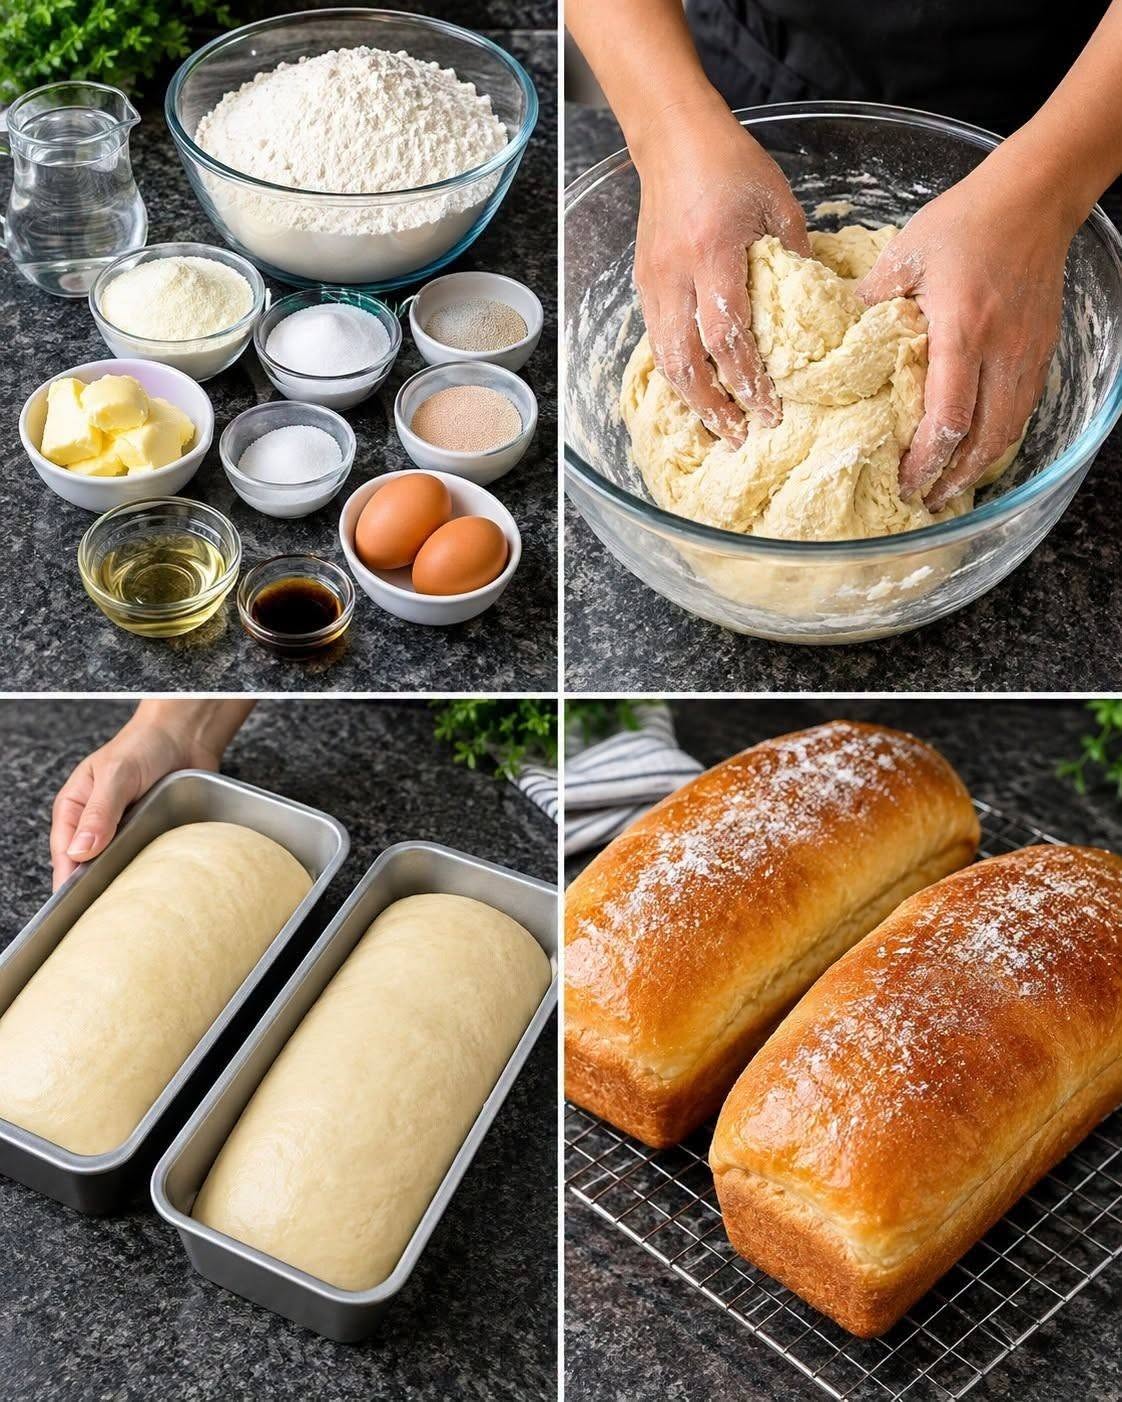
There is something incredibly satisfying about baking a beautiful loaf of homemade sourdough artisan bread from scratch. With just a few simple ingredients—flour, water, salt, and an active sourdough starter—you can create a rustic loaf with a crisp, golden-brown crust, a soft and chewy center, and those beautiful natural air pockets that make sourdough so special.
Unlike conventional bread made with commercial yeast, sourdough relies on a naturally fermented starter containing wild yeast and beneficial bacteria. The long fermentation process gives the bread its characteristic depth of flavor, subtle tanginess, chewy texture, and wonderfully crisp crust.
The best part is that you do not need expensive professional equipment to make this bread at home. A mixing bowl, kitchen scale, proofing basket, sharp blade, parchment paper, and a Dutch oven are enough to get started.
Whether you are an experienced sourdough baker or making your first artisan loaf, this recipe is a wonderful weekend baking project. The process takes patience, but watching a bubbly starter transform into a beautifully risen golden loaf is incredibly rewarding.
Why You’ll Love This Sourdough Bread
- Made with simple pantry ingredients
- No commercial yeast required
- Naturally fermented for deep flavor
- Crispy, golden artisan crust
- Soft, chewy, airy interior
- Perfect for toast, sandwiches, breakfast, or serving with soups
- Excellent weekend baking project
- Can be prepared ahead with overnight refrigeration
- Easily customized with herbs, garlic, nuts, or other additions
Recipe at a Glance
Prep Time: 30–40 minutes
Autolyse: 45 minutes
Bulk Fermentation: Approximately 4–6 hours, depending on temperature
Cold Fermentation: 8–24 hours
Preheating Time: 1 hour
Bake Time: 45 minutes
Cooling Time: At least 2 hours
Total Time: Approximately 14–24 hours
Yield: 1 large artisan loaf
Difficulty: Intermediate
Ingredients
For the Sourdough Bread
- 100 g active sourdough starter, bubbly and recently fed
- 375 ml filtered water, preferably at room temperature
- 450 g unbleached all-purpose flour
- 50 g whole wheat flour
- 10 g fine sea salt
For Dusting
- 30 g rice flour or regular flour, as needed for the proofing basket
Optional Add-Ins
For a flavored loaf, you can experiment with:
- Roasted garlic
- Fresh rosemary
- Dried herbs
- Toasted walnuts
- Sunflower seeds
- Pumpkin seeds
- Olives
- Grated cheese
Equipment You’ll Need
You do not need a professional bakery setup. These basic tools will make the process much easier:
- Large mixing bowl
- Digital kitchen scale
- Wooden spoon or dough whisk
- Bench scraper
- Round proofing basket or bowl
- Clean cotton kitchen towel
- Parchment paper
- Sharp bread lame or razor blade
- Heavy Dutch oven with lid
- Wire cooling rack
- Serrated bread knife
A kitchen scale is particularly useful for sourdough because accurate measurements help produce more consistent results.
Before You Begin: Prepare Your Sourdough Starter
Your starter needs to be active and bubbly before you begin making the dough.
Feed your starter approximately 4–12 hours before mixing the dough, depending on how quickly your starter normally becomes active.
A simple way to check whether it is ready is to place a small spoonful of starter into a glass of room-temperature water. If it floats, the starter is generally active enough to use.
Keep in mind that the float test is only a general indicator. A starter that has visibly risen, contains plenty of bubbles, and smells pleasantly fermented can also be ready even if it does not float perfectly.
Step-by-Step Instructions
1. Mix the Water and Sourdough Starter
Pour 375 ml of room-temperature water into a large mixing bowl.
Add 100 g of active sourdough starter and stir gently with a spatula, spoon, or dough whisk until the starter is mostly dissolved.
The mixture should look slightly cloudy and evenly combined.
Avoid using very hot water because excessive heat can damage the microorganisms responsible for fermentation.
2. Add the Flours
Add:
- 450 g all-purpose flour
- 50 g whole wheat flour
Mix everything together using your hands or a sturdy wooden spoon.
Continue mixing until all visible dry flour has disappeared and you have a rough, shaggy dough.
Do not worry if the dough looks messy at this stage. It will become smoother and stronger as it rests and undergoes fermentation.
3. Rest the Dough — Autolyse
Cover the bowl with a clean damp kitchen towel, reusable bowl cover, or shower cap.
Let the dough rest for approximately 45 minutes at room temperature.
This resting period allows the flour to fully hydrate and gives the dough time to begin developing gluten before the salt is added.
4. Add the Salt
After the 45-minute rest, sprinkle 10 g of fine sea salt over the dough.
Add a small teaspoon of water if needed to help incorporate the salt.
Use your fingers to pinch, fold, and squeeze the dough gently until the salt is evenly distributed.
Work the dough for approximately 1–2 minutes.
The dough may feel sticky at first, but try not to add large amounts of extra flour.
Cover the bowl again.
5. Begin Bulk Fermentation
Now the dough begins its most important fermentation stage: bulk fermentation.
Place the covered bowl somewhere comfortably warm and allow the dough to ferment.
The exact timing depends heavily on your room temperature, starter strength, flour, and dough temperature.
Rather than relying only on the clock, look for visual signs that the dough is progressing.
You are looking for dough that becomes:
- Noticeably larger
- Puffy
- Elastic
- Slightly domed
- Filled with small bubbles
- Lighter and airier than when you started
6. Perform Stretch and Folds
During approximately the first two hours of bulk fermentation, perform a series of stretch-and-fold rounds every 30 minutes.
To perform one round:
- Keep the dough inside the bowl.
- Wet your hand lightly.
- Reach underneath one side of the dough.
- Gently stretch the dough upward.
- Fold it over toward the opposite side.
- Rotate the bowl.
- Repeat the process on all four sides.
One complete round consists of approximately four folds.
Repeat this process every 30 minutes for the first two hours.
Stretching and folding helps strengthen the gluten structure, allowing the dough to hold its shape and trap the gases produced during fermentation.
7. Complete Bulk Fermentation
After your stretch-and-fold rounds are complete, leave the dough covered and undisturbed.
The dough may need several additional hours to finish bulk fermentation.
Instead of following a strict time, watch the dough carefully.
It is generally ready when it has increased noticeably in volume and appears:
- Puffy
- Elastic
- Slightly domed
- Airy
- Filled with small bubbles
A warmer kitchen will usually speed up fermentation, while a cooler kitchen will slow it down.
This is one of the most important lessons in sourdough baking: learn to read the dough rather than relying entirely on the clock.
8. Pre-Shape the Dough
Once bulk fermentation is complete, gently turn the dough onto a lightly floured work surface.
Try not to press the dough aggressively because you want to preserve the air that developed during fermentation.
Use a bench scraper to gently gather the dough into a loose round.
Allow it to rest uncovered for approximately 20 minutes.
This is called the bench rest and allows the gluten to relax before final shaping.
9. Shape the Loaf
After the bench rest, gently turn the dough over.
Stretch it carefully into a rough square or rectangle.
Fold the top portion toward the center.
Then fold the bottom portion upward, similar to folding a letter.
Bring the left side toward the center and then the right side.
Finally, roll or fold the dough into a compact package.
Turn the dough over so the seam is underneath.
Using your hands or bench scraper, gently pull the dough toward yourself across the counter to create surface tension.
The finished dough should feel tighter and hold a rounded shape.
Avoid overhandling it.
10. Prepare the Proofing Basket
Generously dust a round proofing basket with rice flour.
Rice flour is particularly useful because it does not absorb moisture as readily as wheat flour and can help prevent the dough from sticking.
If you do not have a proofing basket, use a medium-sized bowl lined with a clean cotton kitchen towel.
Dust the towel generously with flour.
11. Transfer the Dough to the Basket
Carefully lift the shaped dough using a bench scraper.
Place it seam-side up into the floured proofing basket.
Cover the basket with a clean towel, reusable cover, or loosely fitted plastic bag.
12. Cold Fermentation
Place the covered dough into the refrigerator for an overnight cold fermentation.
Allow it to rest for approximately 8–24 hours.
Cold fermentation slows down yeast activity while allowing the dough to continue developing flavor.
It also makes the dough firmer and easier to score before baking.
For a stronger sourdough flavor, the cold fermentation can sometimes be extended, but fermentation should be monitored carefully so the dough does not become over-proofed.
13. Preheat the Dutch Oven
The next day, place your Dutch oven and its lid inside the oven.
Preheat the oven to 230°C / 450°F.
Allow the Dutch oven to heat for approximately 1 hour.
Preheating the Dutch oven is essential because the intense heat helps the bread rise dramatically during the first part of baking.
The covered pot also traps steam, which helps create the thin, crisp crust associated with artisan sourdough.
14. Score the Dough
Remove the dough from the refrigerator only when you are ready to bake.
Place a sheet of parchment paper on your work surface.
Carefully turn the cold dough onto the parchment paper.
Using a sharp bread lame or razor blade, make one decisive slash across the surface of the dough.
You can also create decorative scoring patterns if desired.
The main score gives the expanding dough a controlled place to open during baking.
15. Bake the Sourdough
Carefully remove the extremely hot Dutch oven from the oven.
Always use thick, heat-resistant oven mitts.
Remove the lid and carefully lower the dough into the Dutch oven using the parchment paper.
Immediately replace the lid.
Covered Bake
Bake at 230°C / 450°F for 20 minutes with the lid on.
During this stage, the trapped steam helps the bread expand and develop its crust.
Uncovered Bake
After 20 minutes, carefully remove the lid.
Continue baking for approximately 25 minutes, or until the loaf develops a deep golden-brown crust.
If your oven runs particularly hot, keep a close eye on the bread during the final stage.
16. Cool Completely
Once baked, carefully remove the loaf from the Dutch oven.
Transfer it to a wire cooling rack.
This step requires patience.
Allow the bread to cool for at least 2 hours before slicing.
Although it may be tempting to cut into the loaf immediately, the interior continues setting as it cools.
Cutting too early can result in a gummy or compressed crumb.
17. Slice and Serve
Once completely cooled, use a sharp serrated bread knife to slice the loaf.
Listen for that satisfying crisp crust as the knife cuts through the bread.
Serve your homemade sourdough with:
- Butter
- Jam
- Honey
- Avocado
- Eggs
- Cheese
- Soup
- Sandwich fillings
- Roasted vegetables
- Olive oil and herbs
It is also delicious simply toasted and served warm.
How to Tell When Your Sourdough Is Ready
Sourdough fermentation is affected by many factors, so visual cues are more reliable than a fixed timetable.
During Bulk Fermentation
Look for:
- Increased volume
- Bubbles along the sides of the bowl
- A slightly domed surface
- Airy and elastic dough
- Dough that jiggles gently when the bowl is moved
During Final Proofing
The dough should feel lighter and aerated while still having enough strength to hold its shape.
If the dough is extremely loose, flat, or difficult to handle, it may have fermented for too long.
Helpful Sourdough Tips
Use an Active Starter
A weak or inactive starter can result in dense bread.
For the best results, use a starter that has recently been fed and is visibly bubbly and active.
Weigh Your Ingredients
Sourdough is much easier to make consistently when you use a digital kitchen scale.
Flour volume can vary considerably depending on how it is measured.
Don’t Add Too Much Extra Flour
Sticky dough can tempt you to add lots of flour, but doing so can make the final loaf unnecessarily dense.
Use lightly wet hands or a bench scraper when handling sticky dough.
Watch the Dough, Not Just the Clock
Fermentation times can change dramatically depending on temperature.
A dough that takes five hours in one kitchen might take considerably longer in another.
Keep the Dutch Oven Very Hot
A properly preheated Dutch oven helps create strong oven spring and a crisp crust.
Be Patient During Cooling
The bread needs time to finish setting internally.
Waiting two hours may feel difficult, but it can make a significant difference in the final crumb.
How to Get a More Open Crumb
If you want those beautiful large sourdough holes, focus on a few key areas:
- Use a strong, active starter.
- Hydrate the flour properly.
- Build gluten strength with stretch-and-folds.
- Avoid over-fermenting the dough.
- Handle the dough gently during shaping.
- Give the dough enough time to ferment.
- Bake in a thoroughly preheated Dutch oven.
Remember that a beautiful sourdough loaf does not have to contain enormous holes. A balanced crumb with good structure is often a sign of successful fermentation and shaping.
Flavor Variations
Once you are comfortable with the basic recipe, you can customize your loaf.
Garlic and Rosemary Sourdough
Add roasted garlic cloves and chopped fresh rosemary during shaping.
Walnut Sourdough
Fold toasted chopped walnuts into the dough for a delicious nutty crunch.
Herb Sourdough
Add dried Italian herbs, rosemary, thyme, or oregano.
Cheese Sourdough
Add small cubes of your favorite cheese during the shaping stage.
Olive Sourdough
Fold chopped olives into the dough for a savory Mediterranean-inspired loaf.
Storage Instructions
Allow the loaf to cool completely before storing.
Store the bread at room temperature in a breathable bread bag or wrapped loosely in a clean kitchen towel.
For the best texture, enjoy it within several days.
You can also slice the bread and freeze the slices in an airtight freezer-safe bag.
Frozen slices can be toasted directly from frozen, making homemade sourdough convenient for quick breakfasts and snacks.
Frequently Asked Questions
Can I use whole wheat flour instead of all-purpose flour?
Yes. You can replace some of the all-purpose flour with whole wheat flour. Keep in mind that increasing the whole wheat percentage may change the dough’s texture, hydration needs, and fermentation speed.
Why is my sourdough bread dense?
Dense bread can result from an inactive starter, insufficient fermentation, weak gluten development, over-fermentation, or shaping issues.
Can I skip the overnight refrigerator rest?
You can, but the cold fermentation contributes significantly to flavor and makes the dough easier to handle. For this recipe, the overnight rest is recommended.
Why did my bread spread instead of rising upward?
Possible causes include over-proofing, insufficient gluten strength, or shaping that did not create enough surface tension.
Can I use tap water?
You can, although water quality varies. If your tap water contains high levels of chlorine, filtered water may be preferable for maintaining a healthy starter.
Why should I bake sourdough in a Dutch oven?
The covered Dutch oven traps steam released from the dough. This helps delay crust formation during the early stages of baking, allowing the loaf to expand and develop better oven spring.
Nutrition Information
The following is an approximate nutritional estimate for one 50 g slice. Actual values will vary depending on the specific flour, starter, salt, and slice thickness used.
| Nutrient | Approx. Amount |
|---|---|
| Serving Size | 1 slice (50 g) |
| Calories | 140 kcal |
| Total Fat | 0.8 g |
| Saturated Fat | 0 g |
| Sodium | 210 mg |
| Total Carbohydrates | 27 g |
| Dietary Fiber | 2 g |
| Total Sugars | 0.2 g |
| Protein | 4.5 g |
| Calcium | 10 mg |
| Iron | 1.2 mg |
| Potassium | 60 mg |
Nutrition information is an estimate and will vary depending on ingredients, brands, fermentation, and serving size.
Final Thoughts
Making homemade sourdough artisan bread is about much more than simply following a recipe. It is a slow and rewarding process that teaches you to understand fermentation, temperature, hydration, gluten development, and timing.
Your first loaf may not look exactly like the beautiful bakery loaves you see online—and that is completely okay. Every bake teaches you something new.
With practice, you will learn how your starter behaves, how your dough should feel, when bulk fermentation is finished, and how to create the perfect crust and crumb.
The combination of a crisp golden crust, chewy center, delicate tang, and incredible fresh-baked aroma makes all those hours of waiting worthwhile.
So feed your starter, measure your flour, warm up your Dutch oven, and enjoy the process. There is nothing quite like slicing into a beautiful loaf of sourdough bread that you made entirely from scratch.

